Free Church Newsletter Templates for Microsoft Publisher. Use these simple yet elegant church newsletter layout for fast editing. Focus on delivering news about activities of the church to the related parties and neighbourhood.
Free Church Newsletter Templates for Microsoft Publisher
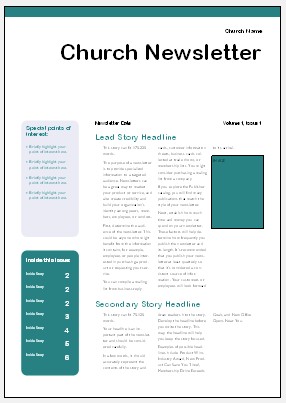
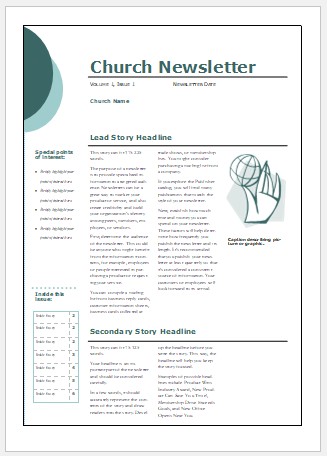
Church Newsletter Publisher 1
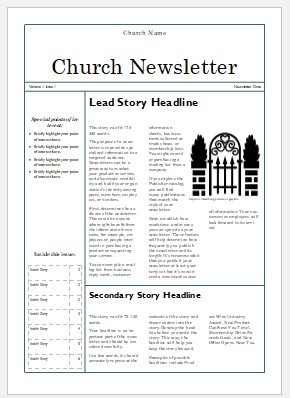
Church Newsletter Publisher 2
Church Newsletter Publisher 3
MORE: Newsletter Templates free , Church Newsletter Examples , Preschool Newsletter Examples , Daycare Newsletter Templates , Parents Newsletter Templates , PreSchool Newsletter Template
Consideration to use Free Church Newsletter Templates for Microsoft Publisher
As a church leader, you know how important it is to stay connected with your members and the community. One powerful communication tool at your disposal is the church newsletter. Not only can newsletters keep everyone informed about upcoming events and activities, they can also be used to share important messages and articles that can inspire and encourage your congregation.
If you’re looking for an easy and cost-effective way to create professional-looking newsletters, Microsoft Publisher is a great choice. Not only is it user-friendly, it has a range of design options and is easily accessible for those with a Microsoft Office subscription.
But where can you find templates to get started? Here are five places to find free church newsletter templates for Microsoft Publisher:
- Microsoft’s template library: Microsoft offers a range of templates for newsletters and other documents, including several options for church newsletters. These templates are easy to customize with your own logos and branding elements.
- Canva: Canva is a popular graphic design website that offers a variety of templates for newsletters, including options specifically for churches. These templates are fully customizable and can be downloaded as a PDF or JPEG file.
- Creative Market: Creative Market is another website that offers a range of templates for newsletters and other documents. While many of the templates on Creative Market are paid, there are also a number of free options available, including church newsletter templates.
- Envato Elements: Envato Elements is a subscription-based service that offers a wide range of templates and other design resources. While you’ll need to pay for a subscription to access the full library, Envato Elements does offer a number of free templates for newsletters, including options for churches.
- Google search: A quick Google search can also yield a number of results for free church newsletter templates for Microsoft Publisher. Be sure to check the licensing on these templates to make sure you’re using them legally.
Once you’ve found a template that works for you, there are a number of ways to customize it to fit the needs of your church. This could include adding your own logos and branding elements, as well as including relevant content such as announcements, event listings, and articles.
By staying connected with your members and the community through newsletters, you can keep everyone informed and engaged. And with the right template and a little bit of customization, it’s easy to create professional-looking newsletters for your church using Microsoft Publisher.
Why using Microsoft Publisher to Create Newsletter?
There are a number of reasons why Microsoft Publisher is a good choice for creating newsletters:
- User-friendly: Microsoft Publisher is designed to be easy to use, even for those with limited design experience. It has a simple interface and a range of templates and design options that make it easy to create professional-looking newsletters.
- Wide range of design options: Microsoft Publisher offers a range of design options that allow you to customize the look and feel of your newsletter. This includes options for layout, fonts, colors, and images, as well as pre-designed templates that you can use as a starting point.
- Accessibility: Microsoft Publisher is easily accessible for those with a Microsoft Office subscription. This means that you can use it on your computer or laptop, as well as access it from anywhere with an internet connection using the web version.
- Integration with other Microsoft Office tools: Microsoft Publisher integrates seamlessly with other Microsoft Office tools, such as Word and Excel. This makes it easy to include data and information from other sources in your newsletter.
- Professional results: With the right template and a little bit of customization, you can create professional-looking newsletters using Microsoft Publisher. This can help to establish your church’s brand and give a polished and professional appearance to your communications.
Basic Task You Need When Editing Using Microsoft Office Publisher
Microsoft Publisher is a user-friendly, cost-effective solution for creating professional-quality documents such as newsletters, brochures, cards, and more. Its wide range of design tools and templates make it easy to create visually rich publications without investing a lot of time and money in a complicated desktop publishing application. Whether you need to create simple projects like greeting cards and labels, or more complex ones like yearbooks and catalogs, Publisher has you covered.
Creating a publication
Starting with a template is key to creating a professional-looking publication, and Microsoft Publisher comes with a range of built-in templates to choose from. Whether you prefer to start with a blank template or one that is more pre-designed, Publisher has options to suit your needs and help bring your vision to life.
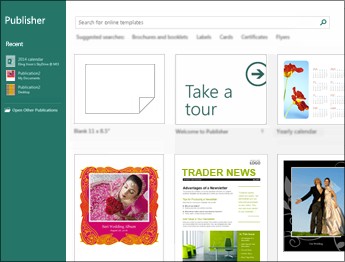
To get started with a template in Microsoft Publisher, click on ‘File’ and then select ‘New’. From there, you have a few options to choose from:
- Select one of the Featured templates and click ‘Create’.
- Browse through the built-in templates by category and choose a template that you like, then click ‘Create’.
- Use the ‘Search for online templates’ box to find a specific type of template, such as a newsletter, on Office.com. Scroll through the results to find a template you like and click ‘Create’.
Saving the publication
To save your publication in Microsoft Publisher, follow these steps:
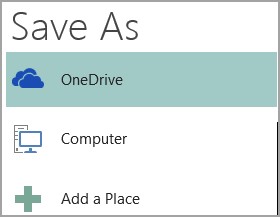
- Click ‘File’ and then select ‘Save As’.
- Choose a location to save your publication, such as OneDrive (a free Microsoft service for password-protected online file storage), Other Web Locations, or a folder on your computer. You can also use the ‘Add a Place’ option to save your publication to an online location.
- Enter a name for your publication and click ‘Save’.
After you’ve saved your publication once, you can simply click ‘File’ and then ‘Save’ each time you want to save your progress. If you want to change the file name or location of your publication, click ‘File’ and then ‘Save As’, and save the publication as if you were saving for the first time.
Adding Pictures to the Layout
To add pictures to a document in Microsoft Publisher, follow these steps:
- Click on ‘Home’ and then select ‘Pictures’.
- Use the options in the ‘Insert Pictures’ dialog box to find the picture you want to use. You can choose to insert a picture from a file on your computer, from a website, or from a range of online sources.
Adding Text to the page
To add text to a publication in Microsoft Publisher, you will first need to insert a text box. Most templates already include text boxes that you can fill in, but you can also add your own text boxes. Here’s how:
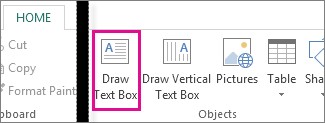
- Click on ‘Home’ and then select ‘Draw Text Box’.
- Use the cross-shaped cursor to draw a box where you want the text to go.
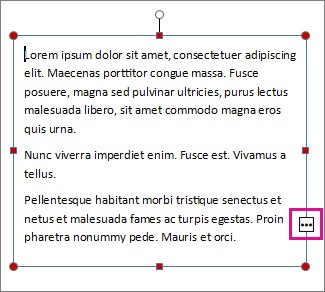
- Type your text into the text box. If the text is too long for the text box, you can make the text box larger or link it to another text box.
- If you want to format the text, you can use the text formatting options in the ‘Home’ tab, such as font type, size, and color.
Linking text form a box to another box or column
To link text boxes in Microsoft Publisher so that text flows from one box to another, follow these steps:
- If a text box has too much text, an overflow indicator (a little box with ellipses) will appear in the lower right corner of the text box.
- Create a new text box by clicking ‘Home’ and then ‘Draw Text Box’.
- Click on the overflow indicator and your cursor will become a pitcher.
- Move to the new text box and click to link the two text boxes. The overflow text will now appear in the new text box.
- As you continue to add text, it will flow from one text box to another. If you run out of room in the second text box, you can link it to another text box and the text will flow through all three boxes.