Every wordpress blog post deserves a beautiful feature image, and you can make it using Canva. The free plan of Canva is enough. To make the work easier, you will need The Paste, a wordpress plugin to copy and paste image into media library.
WordPress provides featured image for each post, and thus if you have enough time, you can upload the featured image for the post.
I really love to add beautiful featured image for every post. Whenever I have time, I want to take time making it. Of course, you can put any image for the post, but adding beautiful featured image will make your visitors happy. I think.
So, I make use of Canva to get the job done. Using Canva is pretty easy, so in this post I will just share in general, not a step by step tutorial.
The most likely steps to create beautiful blog post featured image in Canva and than set it as a featured image in wordpress:
- Login to Canva, make one if you don’t have a Canva account.
- Choose blog banner template. If you don’t see it, just type it in the search bar. Then, choose one. Just pick one. Just any because we will delete all of them and start from scratch, except you want to use the existing one from the template.
- Name the work
- Download it (click download, rename the file, set the location, save)
- Edit open the blogpost, head to featured image, upload from the media library, locate the file, click upload, insert as featured image.
Such a long steps start form 4, right?
To cut the steps, I use a plugin “The Paste”. Just add it from the wordpress repository, search it by keyword “The Paste”. Install it. Activate it. Whenever you open the media library, you will see like this:
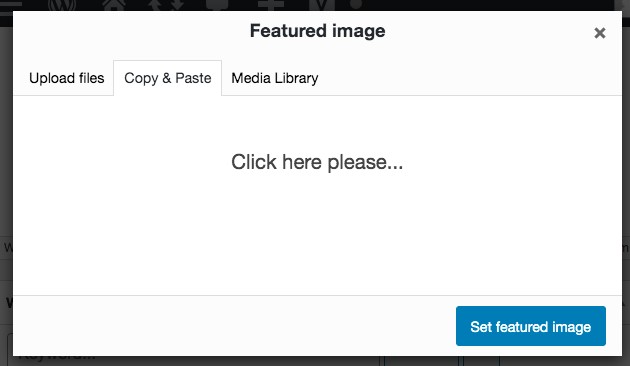
Just paste any image to it, give it a name, and insert.
How to copy the featured image we create in Canva without downloading the image?
we are going to use screenshot. I am using mac, so I use combination of CRTL+COMMAND+SHIFT+4
first, make the image bigger by clicking the preview (the enlarger arrow)
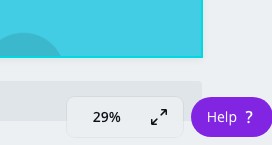
Once it appears in bigger size, wait until all additional information from Canva disappears, and then do the screenshooting.
After taking screenshot, head back to wordpress, make sure the paste library open, and click paste.
I think it is much simpler. I like this process.
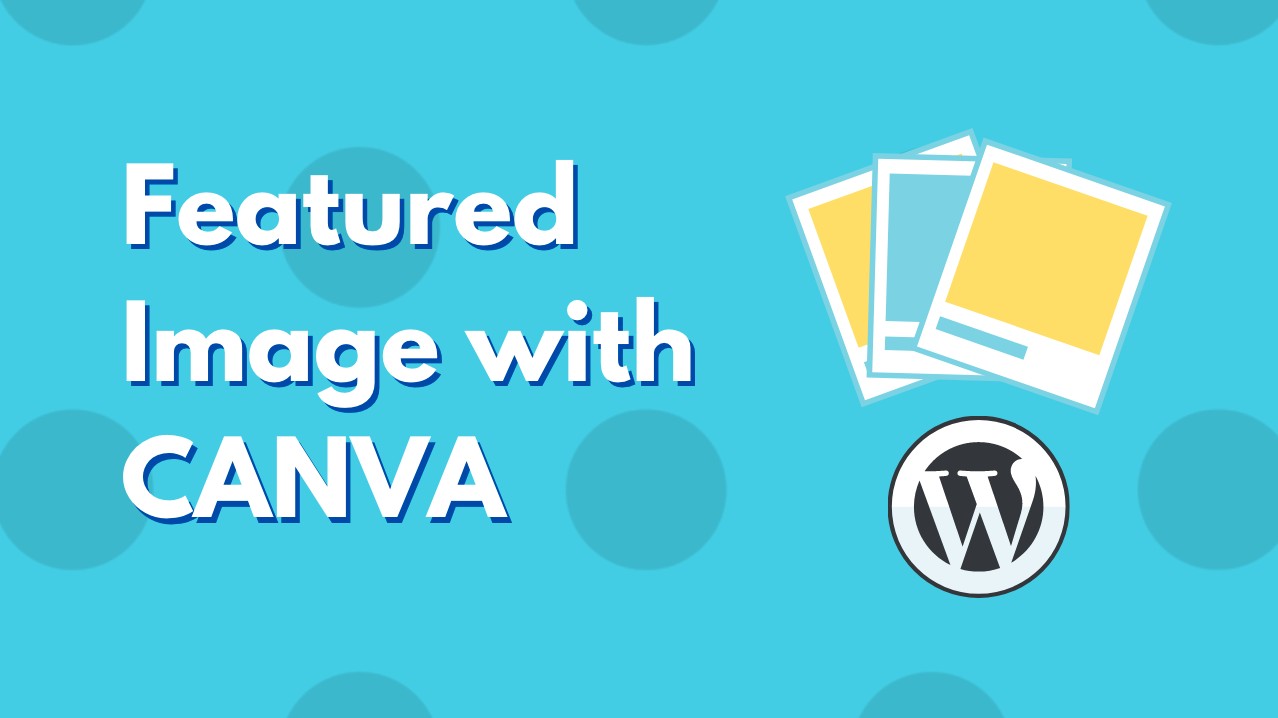
The featured image of this post was created using Canva.
If you also have a wordpress based blog, the hosted one, you can do it too.
Saving Storage
Another reason I don’t download image from Canva and then save it in my hard drive is that I don’t want to make my storage full. Although actually I can delete the image after I upload it to wordpress, I still don’t like it. Usually, I tend to forget to delete the image, and as the time goes on, a lot of images stay in the hard drive.