Booklet Template Google Docs. Google Docs is a great tool for creating and editing documents, spreadsheets, and presentations. But what if you need to create a booklet with the same layout on each page? If you’re not a designer, creating something like that from scratch can be pretty tough. That’s why we created this free Google Docs booklet template.


What is booklet?
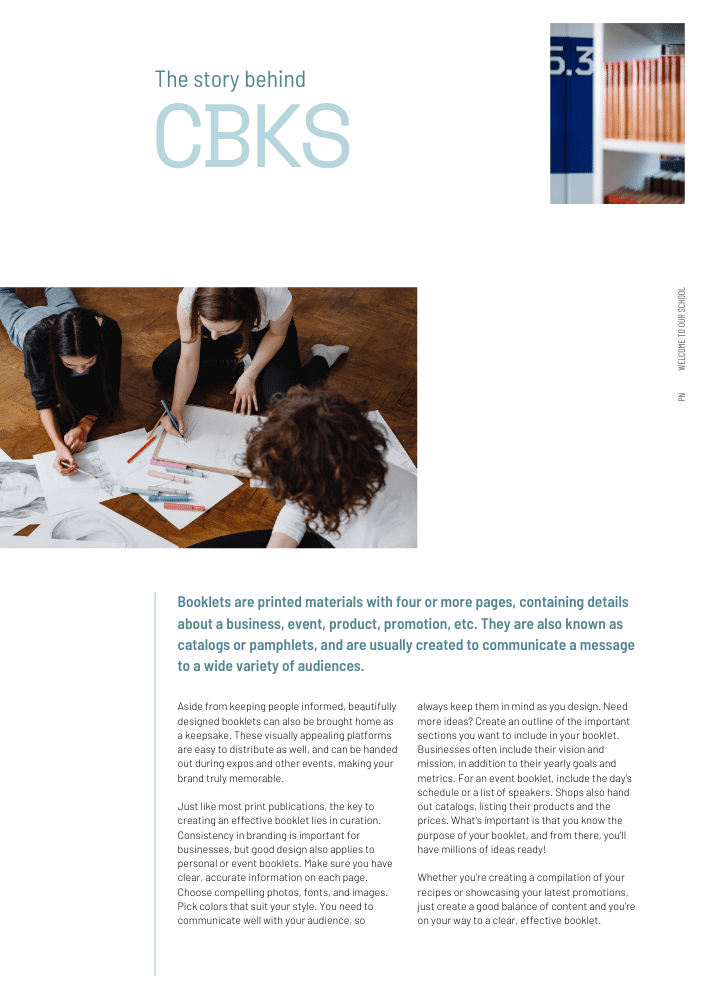
A booklet is a type of publication that is printed on both sides of a sheet of paper. Usually, a booklet is one or two pages wide and ± A4 or Letter sized. Unlike a book, a booklet has no spine, so it can lie flat when open. As a result, a booklet can be printed on smaller sheets of paper, so it’s more cost-effective than printing a book. A booklet is also often shorter in length than a book, and it is usually created as a part of a larger publication or campaign. So a booklet may be used to provide information or instructions on a topic, or it may be used to collect signatures or to provide contact information. It is different from Google Docs Brochure Template.
What is a free booklet template for Google Docs?
A free booklet template for Google Docs is a pre-designed document that allows you to create a booklet in Google Docs. Using the booklet template, you can add content to the document and then change the design of each page to match the desired layout. A free booklet template for Google Docs lets you design your booklet without needing any special software. And using a Google Docs booklet template means you can create a booklet without needing to know how to design in Google Docs. A Google Docs booklet template can also help you use consistent fonts, page breaks, page numbers, and other design elements throughout your booklet.
Why create a booklet in Google Docs?
There are many reasons why you might want to create a booklet using Google Docs. Those who want to create a booklet using Google Docs might want to do so because:
- They want to create a booklet that has a consistent design.
- They want to create a booklet that has consistent fonts and page breaks.
- They want to create a booklet that has the same number of pages on each side.
- They want to create a booklet that uses the same layout on each page.
- They want to create a booklet that can be printed at home.
How to use this free Google Docs booklet template?
- First, Download the free Google Docs booklet template by clicking the link below. – Open the booklet template in Google Docs.
- Select File > New to create a new document based on the layout of this booklet template. – Enter your content into the document and then select Design > Edit Page Layout.
- Select the page layout you want to edit the design of, and then select the elements you want to change.
- When you are done, select File > New and select Manage Versions.
- Select Save a New Version and then select Create Another Version.
- Enter a new name and select Create Version. – Select Save to save your changes to this new version of your document.
- Print your document or select File > Export to save it as a PDF or Word document.
- Share the document with others and select File > Close once you are done.
Tips for using this Google Docs booklet template
- If you are using a Google Drive account, you can create folders to organize your documents. To do this, select Create > New Folder. If you don’t use Google Drive, you can create folders on your computer.
- Use consistent page breaks to create a consistent design. To do this, select Insert > Break > Next Page. You can also use different page breaks to create a different design for different pages. For example, you might use a No Break break to create a design that spans both sides of a page.
- Use consistent fonts throughout your booklet. To do this, select the text you want to change and then select Font > Font Options.
- You can print your document at home by selecting File > Print.
- To share your document with others, select File > Share > Send a Copy. You can also share your document online by selecting File > Share > Online.
- To change the width of your pages, select Page > Page Properties and then select the Paper option. You can also change the margins and the font size used in your document by selecting Format > Document > Paper Options.
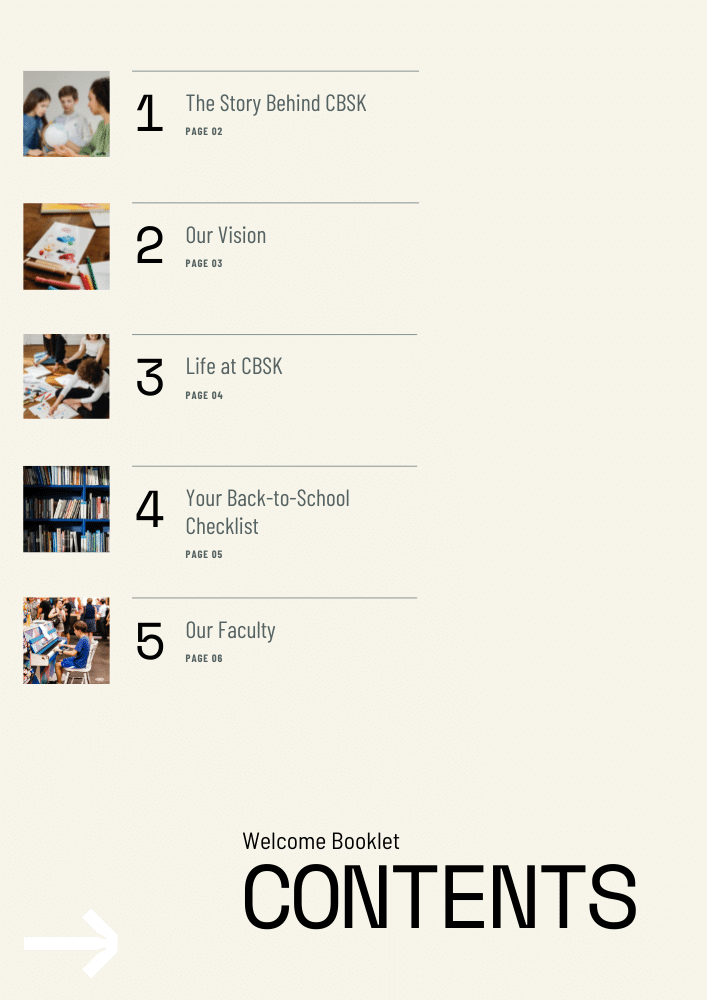
- You can create a table of contents by selecting Insert > Table of Contents. You can also add page numbers to your document by selecting Insert > Index and Tables > Page Numbers > Add Page Numbers to Selected.
- You can change the numbers and text in your table of contents by selecting Design > Table of Contents.
- If you are creating a booklet with one page on each side, you can change the layout of your pages by selecting Document > Document Properties. Select the Layout tab, select Custom, and then select One Sided Two Pages.
- You can use your free Google Docs booklet template to create books using the Create App functionality. Create apps are available for Google Sheets and Google Slides as well as Google Docs.
Print your booklet using this Google Docs booklet template
To print your booklet using this Google Docs booklet template, select File > Print. Select the printer you want to use, select the number of copies you want to print, and then select the paper size and other options. If you are using an A4 paper size, select either A4 or Letter to determine the size of your pages. If you are using an ISO paper size, select ISO A or ISO B. If you want to print your document in landscape mode, select the Landscape option under Page Orientation. If you want to print your document in portrait mode, select the Portrait option under Page Orientation.
Booklet templates are available in many formats, and if you want to make a booklet, I think it is better for you to create your own booklet using booklet templates google docs provide. However, if you find that the booklet designs offered there are not the format of booklet or booklet format that you are looking for, you can use this one.
There are certain situations in which you need to make your own booklet. In that case, you need to learn how to make a booklet. If you currently have no idea about how to make booklet, you can actually use this booklet template design. Learning how to create a booklet can take awhile, but as long as you keep practicing editing booklet layout template, you will successfully have your own printable booklet.
make your own booklet
After practicing editing this template (above), you will be able to create or make your own booklet. While editing, you are learning they layout characteristics, and other elements that make a booklet. Soon, you will be familiar with the process too, and thus it will take you fast forward in creating your own.
booklet format
The booklet format are commonly simple. It is like a book, but it contains only few pages. Sometimes there are 8 pages, and some others use 12 pages. There is no strict rule in the number of pages to use in a booklet, but those two numbers are commonly used.
booklet template design
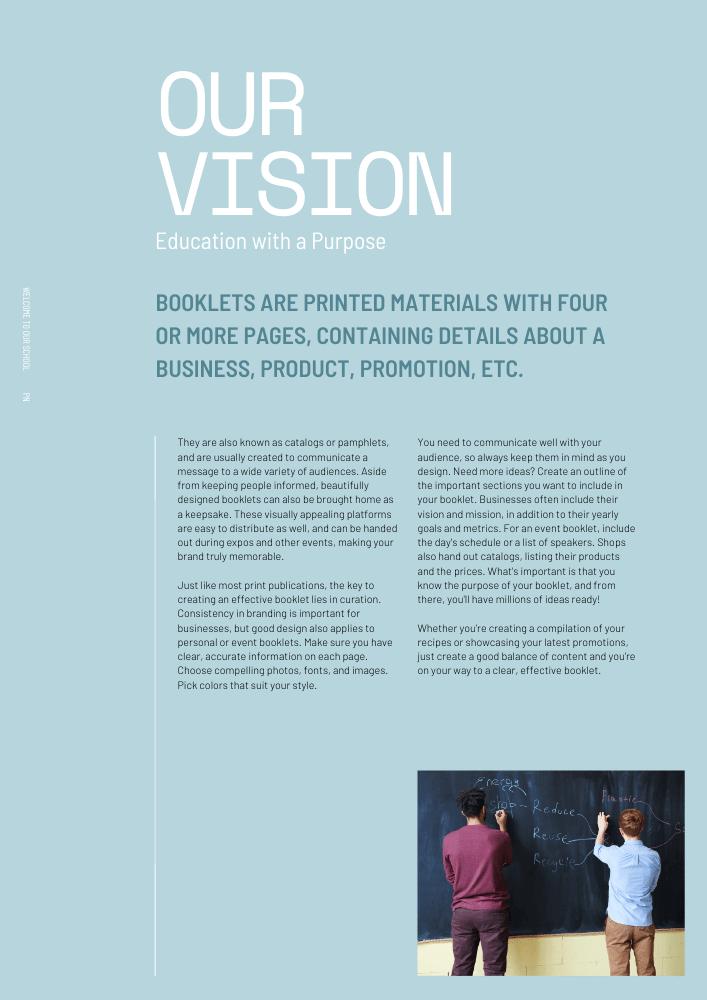
This (above) booklet template design is provided for school settings, but if you want to use it for other settings, go ahead. All you need to do is to change the color, images, fort, and other elements that make your booklet specific to the theme that you want.
printable booklet
Is the booklet printable? Of course. You can print the booklet that you edit in google docs. You can also just share it online via pdf.
booklet layout template
The booklet layout template are usually simple. Not to much extra confusing composition. If you observe the above template, you will get an idea and believe that a good booklet doesn’t have to be complicated.
mini booklet template
What about mini booklet? Can I make it? Of course, all you need to do is to change the size, adjust all the overflowing size of the initial template. It will surely take time for you to customise when using mini size, but the time spent is worth a dime.
what makes a good booklet
You may want to know what makes a good booklet. Well, the basic element is the information. The information is the king. That is the key to the success of a booklet. The second element that makes a good booklet is the simplicity of the layout. The last one is the representative image that gather the attention of the readers.
cover page for booklet
Does a booklet needs a cover page? Sure, you can see that the template above begins with a cover.
folding booklet template
Making folding booklet using the above template is possible, but you need to do more adjustment, that is at the printing station. Tell the guy operating the printer that you want to make a booklet. He will adjust the paper size and all the things required to make a folding booklet.
booklet example
You need more booklet example? I promise that I will make more template so that you can see them as examples for your projects and programs.
blank booklet template
I don’t really agree with the use of blank booklet template because blank template will not give ideas to the user. Usually they get confuse when looking at blank template. They have no idea about what to do with the template.
Step-by-Step Guide: How to Create a Professional Booklet in Google Docs
Looking to create a professional booklet using Google Docs? You’ve come to the right place! In this comprehensive step-by-step guide, we will walk you through the process of creating a stunning booklet that will impress your clients or readers.
Using Google Docs for creating booklets has become increasingly popular due to its user-friendly interface and collaborative features. Whether you’re a business owner, a student, or a design enthusiast, this guide will equip you with all the necessary tools and tips to create a professional booklet from scratch.
From setting up the document layout to designing eye-catching covers, we’ll cover it all. Additionally, we’ll show you how to add images, formatting, and other essential elements to make your booklet visually appealing and engaging.
No prior design experience? No problem! We’ll explain each step in detail, ensuring that even beginners can follow along and create a booklet that looks like it was made by a professional designer. So, let’s dive in and unleash your creativity with Google Docs!
Setting up your Google Docs document for a booklet
Creating booklets in Google Docs offers several advantages over traditional design software or manual methods. Here are some of the benefits:
1. User-friendly interface: Google Docs provides a simple and intuitive interface, making it easy for anyone to use, even if you have limited design experience.
2. Collaborative features: Google Docs allows multiple users to work on the same document simultaneously, making it ideal for teams or individuals who need to collaborate on booklet creation.
3. Cost-effective: Google Docs is free to use, eliminating the need for expensive design software or hiring professional designers.
4. Accessibility: Google Docs is cloud-based, meaning you can access your booklet from anywhere with an internet connection and collaborate with others in real-time.
By utilizing Google Docs for your booklet creation, you can save time, money, and effort while achieving professional results.
Designing the layout of your booklet
Before diving into the design process, it’s important to set up your Google Docs document correctly to ensure it functions as a booklet. Follow these steps:
1. Open Google Docs and create a new document.
2. From the File menu, select Page setup.
3. In the Page setup dialog box, set the page orientation to Landscape.
4. Adjust the margins to your desired size. Typically, for booklets, narrower margins are preferred to maximize the available space.
5. Click on the Apply button to save the changes.
Your document is now ready to be transformed into a professional booklet.
Adding content to your booklet
The layout of your booklet plays a crucial role in its overall visual appeal and readability. Here are some tips for designing an effective layout:
1. Choose a template: Google Docs offers a variety of pre-designed templates that you can use as a starting point for your booklet. Browse through the available options and select a template that aligns with your desired style and content.
2. Consider the page hierarchy: Determine the order and hierarchy of your pages. Typically, booklets start with a cover page, followed by an introduction, main content, and a conclusion. Sketch out a rough outline of your booklet’s structure before proceeding.
3. Use headings and subheadings: Utilize headings and subheadings to break up your content and guide readers through the booklet. This not only improves readability but also adds visual interest to your design.
4. Balance text and white space: Aim for a balance between text and white space to avoid overwhelming your readers. Leave margins and padding around your content to create a visually pleasing layout.
Remember, the layout should be visually appealing, easy to navigate, and complement the overall theme or purpose of your booklet.
Formatting and styling your booklet
Now that your layout is in place, it’s time to start adding content to your booklet. Here’s how to do it effectively:
1. Write engaging copy: Craft compelling and concise copy that grabs your readers’ attention and effectively communicates your message. Use clear and concise language, and consider using bullet points or numbered lists to break up dense information.
2. Organize your content: Divide your content into sections and subsections, ensuring a logical flow of information. Use headers and subheaders to separate different sections and make it easier for readers to navigate through your booklet.
3. Include relevant visuals: Visual elements such as images, graphs, and charts can enhance the readability and understanding of your content. Make sure to choose high-quality visuals that align with your message and fit seamlessly into your design.
4. Proofread and edit: Review your content for spelling and grammatical errors. Ensure that the tone and style of your writing are consistent throughout the booklet. Consider asking someone else to proofread your work for a fresh perspective.
By adding engaging and well-organized content to your booklet, you’ll create a meaningful and impactful reading experience for your audience.
Inserting images and graphics in your booklet
Formatting and styling your booklet is essential to create a cohesive and visually appealing design. Follow these tips to enhance the appearance of your booklet:
1. Choose a consistent font: Select a font that is easy to read and aligns with the tone and purpose of your booklet. Stick to one or two fonts throughout the entire document to maintain consistency.
2. Use appropriate font sizes: Ensure that your text is legible by choosing appropriate font sizes. Use larger fonts for headings and subheadings to make them stand out, while using smaller fonts for body text to maintain readability.
3. Apply consistent colors: Choose a color scheme that complements your content and brand identity. Use the same colors consistently throughout your booklet to create a cohesive look and feel.
4. Apply appropriate text alignment: Align your text to the left or justified for a clean and professional appearance. Avoid center-aligning large blocks of text, as it can be harder to read.
By paying attention to formatting and styling, you can elevate the overall aesthetic of your booklet and make it visually appealing to your readers.
Adding page numbers and headers/footers
Visual elements are essential for capturing the attention and enhancing the visual appeal of your booklet. Follow these steps to insert images and graphics into your booklet:
1. Choose relevant visuals: Select high-quality images and graphics that align with your content and enhance the overall message of your booklet. Avoid using generic or irrelevant visuals that may distract or confuse your readers.
2. Insert images: Click on the Insert menu in Google Docs, then select Image. Choose whether to upload an image from your device or insert an image from your Google Drive. Adjust the size and position of the image to fit seamlessly into your design.
3. Add captions or descriptions: If necessary, add captions or descriptions to your images to provide additional context or information. This can be done by selecting the image, right-clicking, and choosing “Insert caption.”
Remember to be mindful of copyright laws when using images and always provide proper attribution if required.
Reviewing and editing your booklet
Page numbers and headers/footers are essential elements in any professional booklet. Here’s how to add them in Google Docs:
1. Page numbers: Click on the Insert menu, then select Page numbers. Choose the desired location and format for your page numbers. You can customize the appearance of your page numbers by selecting “Format page numbers” from the dropdown menu.
2. Headers and footers: To add headers and footers, click on the Insert menu, then select Header or Footer. Choose from the available options or select “Edit header” or “Edit footer” to customize your own. You can include titles, dates, page numbers, or any other information you deem necessary.
Adding page numbers and headers/footers provides structure and professionalism to your booklet, making it easier for readers to navigate and reference specific sections.
Printing and sharing your booklet
Before finalizing your booklet, it’s crucial to review and edit it for any errors or inconsistencies. Follow these steps to ensure your booklet is polished and error-free:
1. Proofread for errors: Carefully review your booklet for spelling, grammar, and punctuation errors. Use spelling and grammar check tools to assist you, but also read through the content manually to catch any mistakes that might be missed.
2. Check for consistency: Ensure that your design, formatting, and styling choices remain consistent throughout the booklet. Double-check fonts, colors, and alignment to ensure a cohesive and professional appearance.
3. Test readability: Read through your booklet from start to finish to ensure that the content flows smoothly and is easy to understand. Adjust any sentences or paragraphs that may be confusing or unclear.
4. Seek feedback: If possible, ask someone else to review your booklet and provide feedback. Fresh eyes can often catch errors or suggest improvements that you may have overlooked.
By thoroughly reviewing and editing your booklet, you can ensure that it meets the highest standards of professionalism and readability.
Conclusion
This free Google Docs booklet template lets you design a booklet in your Google Docs document. Using this Google Docs booklet template, you can create a booklet with a consistent design by changing the design of each page. You can also use this Google Docs booklet template to create a booklet with the same number of pages on each side. You can use this Google Docs booklet template to create a booklet that can be printed at home.